We’ve searched high and low to bring you this collection of the best transition packs available for DaVinci Resolve. You will also find some high-quality free transition packs as well.
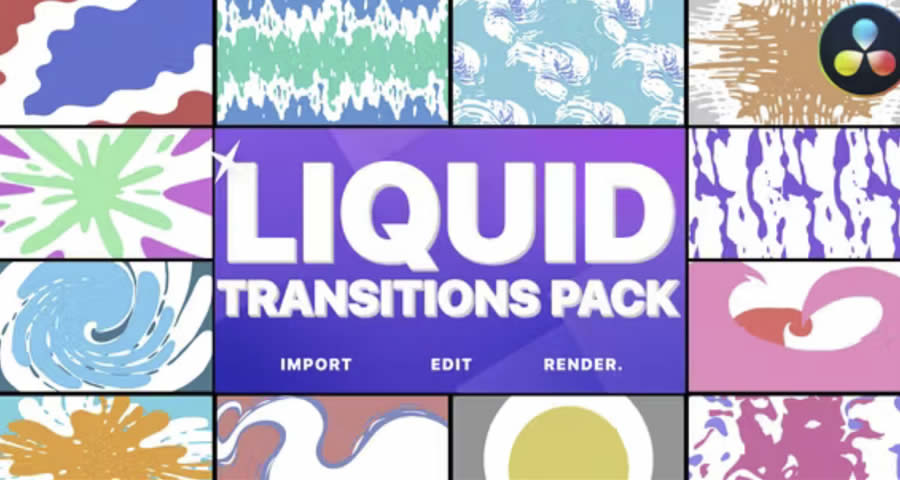
The Liquid Transitions Pack includes 12 hand-drawn animated transitions to add a fluid, creative flair to your video projects. It also includes sound FX to complete the experience. The pack is compatible with DaVinci Resolve 16 and above.
Remember, every video is unique, and finding your own style is about trying new things. So, play around with these transitions to see what amazing effects you can create. Your next video may be your best one yet!
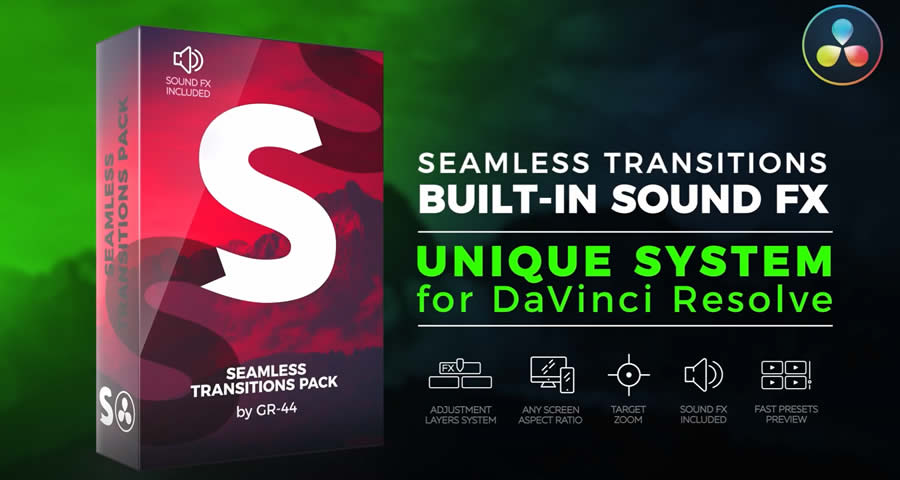
250+ transitions. They work with DaVinci Resolve 18.5 and above, and each transition has its own sound effects.
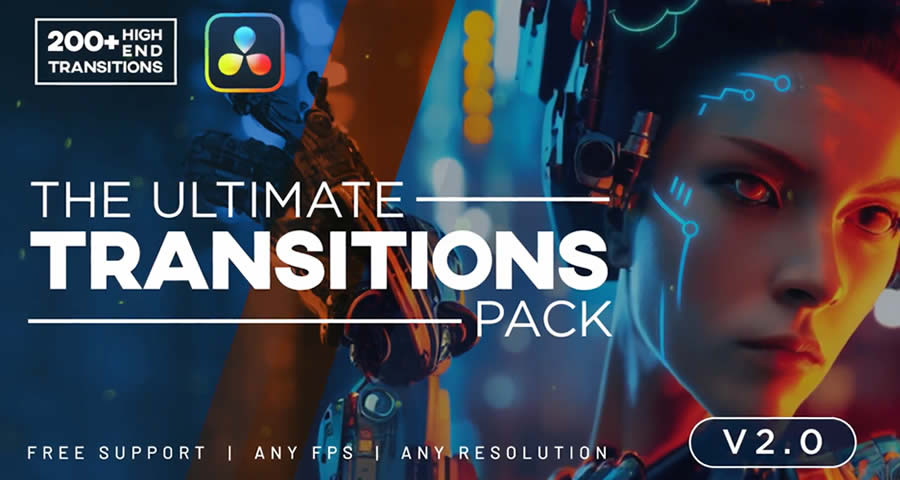
This huge DaVinci Resolve pack includes over 200 transitions across 18 categories. It simplifies your editing process with easy drag-and-drop functionality, variable lengths, and fully customizable values and colors. This pack has been created for DaVinci Resolve 18 and above.
Choosing the right transitions can significantly improve your video projects. It’s not just about switching from one scene to another; it’s about weaving your shots together in a way that tells a story.
But what really puts the finishing touches on any video project? Transitions. They aren’t just fancy effects. They’re the bridges that connect your story, scene by scene. When used skillfully, transitions do more than move you from one shot to another; they push your story forward, setting the rhythm and tone that keep viewers glued to the screen.
How to Install Transition Packs in DaVinci Resolve
DaVinci Resolve is a hugely popular application among video editors. Thanks to its powerful features covering everything from cutting clips to color correction, it has gained a fantastic reputation for helping videographers bring their visions to life.
- Download the Transition Pack: Choose and download a transition pack to your computer.
- Unzip the File: Most transition packs come in a compressed format. Right-click the file and select
Extract Allto access and view the contents. - Open DaVinci Resolve: Launch the DaVinci Resolve software on your computer.
- Navigate to the Fusion Page: At the bottom of the screen, you’ll find different pages. Click on the
Fusionpage. - Import the Transitions: Drag and drop the transition files from the folder you extracted into the Fusion page. Some transitions might require you to import them through the
Effects Libraryby right-clicking and choosingImport. - Use Your New Transitions: Now, head over to the
Editpage. You’ll find your new transitions listed under theEffects Libraryin theVideo Transitionssection. - Apply Your New Transition to Your Project: Drag the desired transition from the
Video Transitionssection and drop it between two clips on your timeline. - Adjust & Edit the Transition: You can adjust the duration and edit the properties of the transition by clicking on it and using the inspector panel.
If you’re looking for Premiere Pro transition packs, you will find them here.
Here’s how you can add new transitions to your DaVinci Resolve editing toolkit:
Read more articles by Paul Andrew